
# Use Azure blob storage
SHAREPOINT ONLINE ONLY
To enable migration via Azure blob storage , start the configurator, settings, migration and set Azure Azure blob storage to true. Only new files are migrated using the azure blob storage. During a delta migration new versions or updated documents are migrated using the normal CSOM method.
The migrator will create azure jobs with the meta-data in azure with a max of 100 items or a size of max 100mb per job. Use the Monitor window to view the status of the jobs. The window is automatically refreshed using an increasing interval, from 10 seconds to 10 minutes. Use the Manual Refresh button to force a refresh. The interval is also restarted after a force refresh.
No additional Azure configuration is necessary. Sharepoint will provide the azure queue en blob container. The queue and container are automatically purged within 30 to 90 days, more info (opens new window).
Here's a list of additional urls (opens new window) that are used when the blob storage is used.
Migrating via Azure is currently only supported in the following plugins:
- Filesystem
- Sharepoint
- iManage
- NextMatters
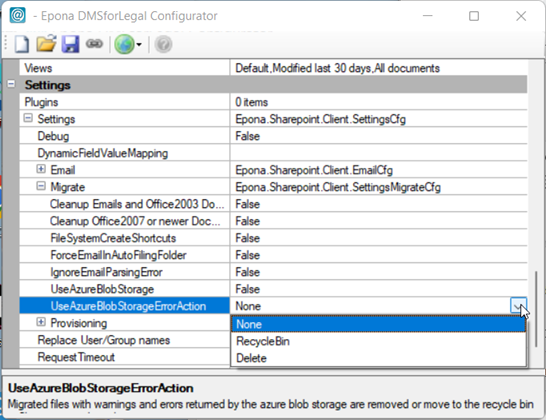
ErrorAction When an error or warning has occurred during the azure migration, the file could already be created in Sharepoint. Specify the action that can be executed when an error or warning has occurred. See settings, migration and set Azure blob storage Error Action to:
- None, do nothing, should be used when target library is already in use by users and potentially have created/updated documents.
- RecycleBin, move the existing file to the recycle bin. Use this option if it's not 100% clear that users have created/updated documents.
- Delete, remove the file in Sharepoint. Use this option if users have not created/update documents
TIP:
Use the Delete option before the go-live date and use RecycleBin in the days after the go-live date.
# Cancel Jobs
Jobs can be stopped/cancelled/removed via the button "Cancel jobs" in the migration status form. Use multiselect to select one or more jobs.
If the job is already started, the job cancellation command is executed but we have no influence when this becomes active. It's better to just let it run and delete it when it's finished (and if necessary manually delete the migrated documents in Sharepoint and in the database, table _EDMSDocument).
If the job is already pushed but not started, the job is cancelled in Azure. The documents are removed from the database and are handled as new documents the next time the migration is started. The job is also removed in the database.
If the job is finished, the job and other job details are removed from the database, documents are not removed.
# Retry Errors
During the import errors could occur (like the 'checked out' error). When these errors are retried, files are migrated without any errors, so we created a method to (semi-)automate this process.
When the migration is finished, click on the Retry Errors button. The database will be checked for files where all the versions of the same file (source is equal) have an error.
- Report with the unique MigrateSource is exported to .\Migrate\AzureMigrationRetryErrors_*.xlsx
- DeleteFile is exported to .\Migrate\AzureMigrationDeleteFile_*.xlsx is exported. Manually check this file for the correct target Mattercode/SiteUrl to opmize the delete process. Move this file to the monitor directory in the site prov. service to remove the files in Sharepoint. Optionally update the Force column to true, to checkin files if still checkedout before removing. The files are completely removed (not moved to the recycle bin).
- The records are removed in the migration database (if confirmed)
- Wait until the files are deleted in Sharepoint and use the AzureMigrationRetryErrors.xlsx file to restart the migration using the information from the MigrateSource column (if the records are removed from the migration database). Be careful to re-use the same settings when starting the import.