
# Installing the Epona DMSforLegal365 APPs
# Goal
Deploy Azure SQL database and Azure storage account at the client
Connect Epona DMSforLegal365 APP services to these accounts
Deploy the APP services
# Required information
IP addresses of Epona APP services (per 1 July 2021, subject to change):
13.75.146.18
52.233.190.74
20.43.22.54
52.165.153.69
# Azure configuration steps
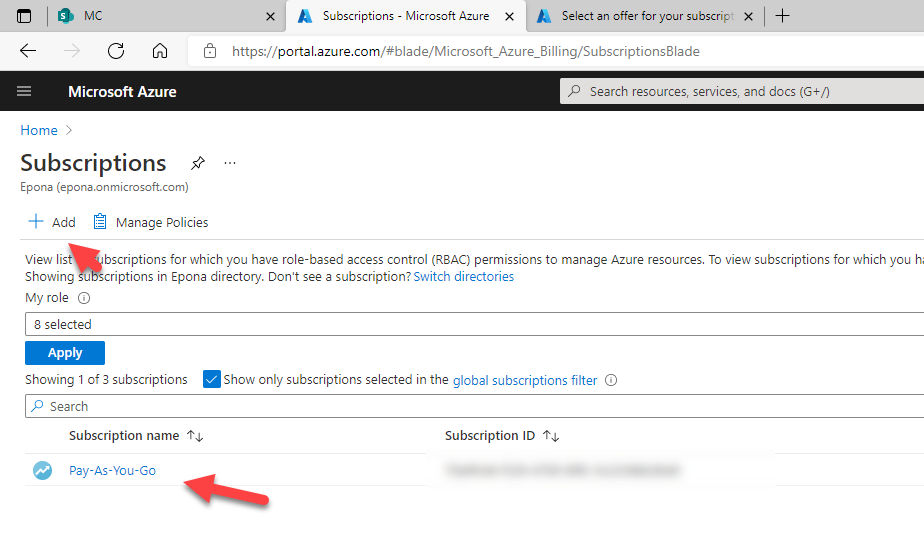
- Check the Azure subscription that you are going to use. Azure services are placed in resource groups and can be connected to a subscription.
2.Create the Azure SQL resource
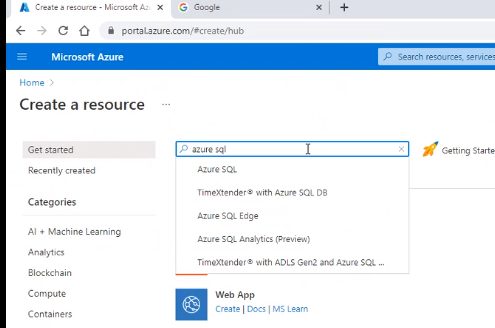
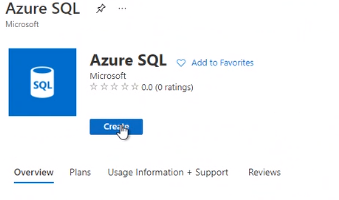
3. Choose Azure SQL and select Create
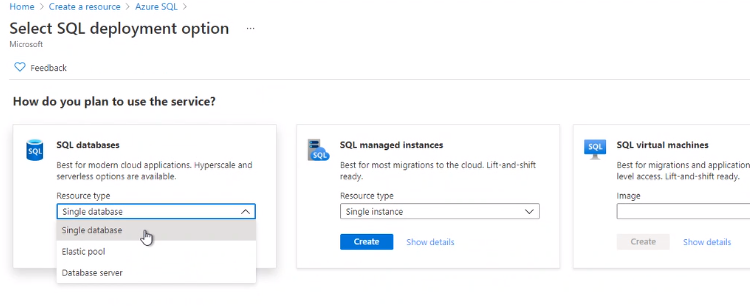
4. Choose a Single database
5. Select the appropriate subscription (financial consequences) and the resource group
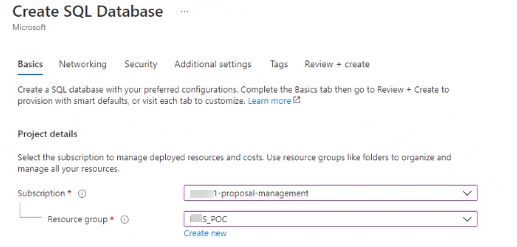
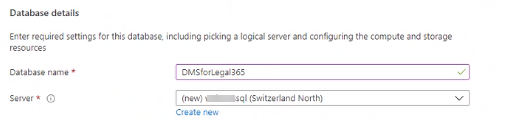
6. Define the Database name and the database server, in this case a new database server is created.
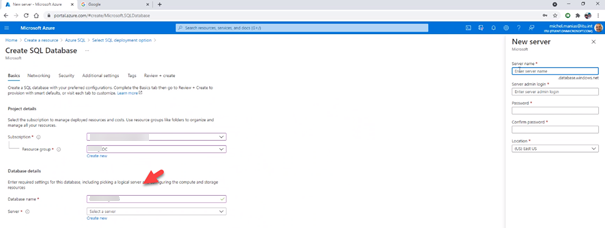
7. The database server can host multiple databases, in this case for the DMSforLegal365 Database a separate database server is created
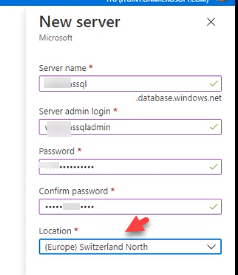
Choose the Location according to you compliance needs
8. The database and database server are selected
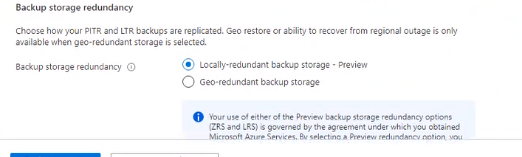
9. Geo redundancy is not required, there is data in this database that can be recreated
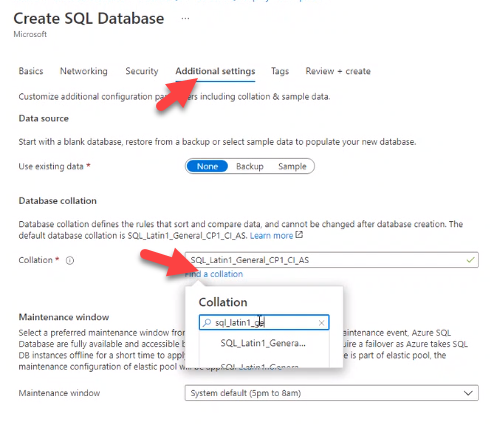
10. Choose Additional settings and change the collation of the database
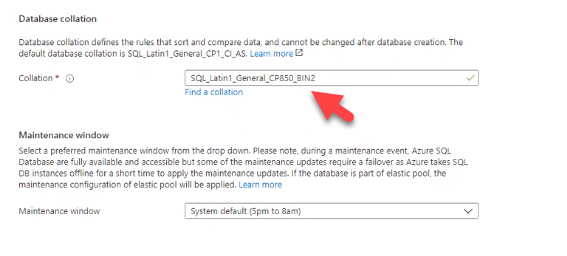
11. Ensure you choose: SQL_Latin1_General_CP850_BIN2
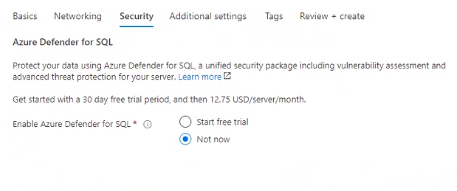
12. No SQL Defender services are required
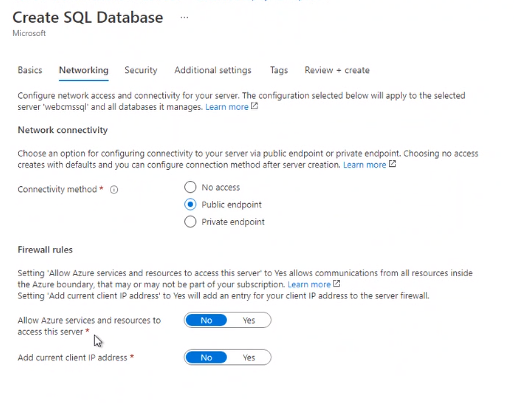
13. The Tab Networking is important. This is a public available SQL database that can be accessed by a specific set of IP adresses of servers from Epona. Choose Public endpoint, at this moment the set of Epona IP adresses cannot be defined
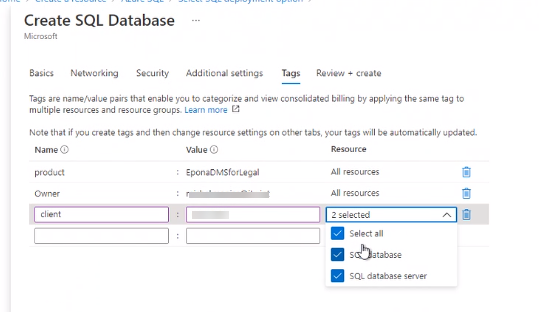
14. On the tab TAGs you can define billings tags of this service
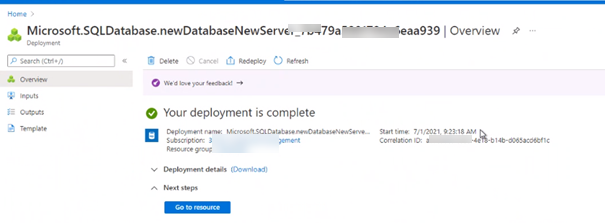
15. Wait untill the deployment completes
16. Create a SQL user
Connect with SQl Studio to the Azure SQL database
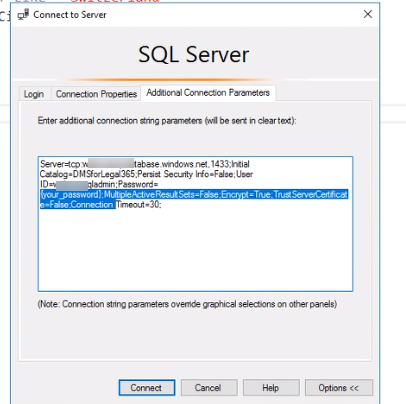
17. Get the Connection String
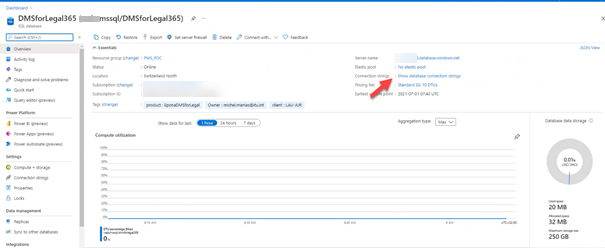
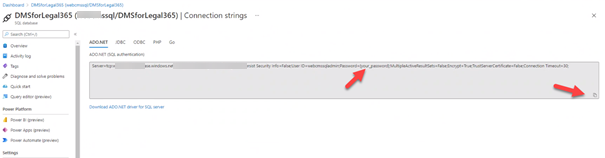
Remark: the Epona server IP addresses need access to this resource and a connection string is required with the right username and password
# Setting up the Azure Storage account
Choose Create a resource, Storage Account
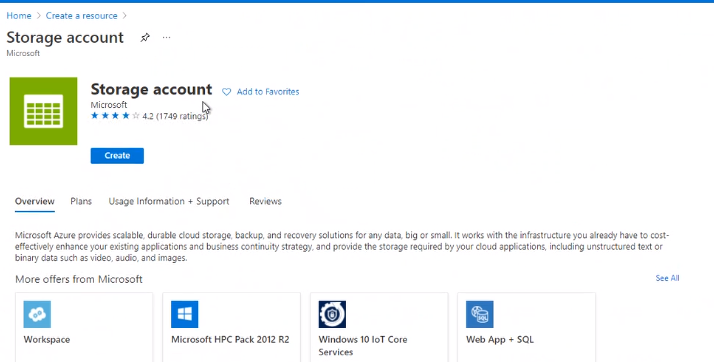
Define the subscription, resource group and assign a name to the account
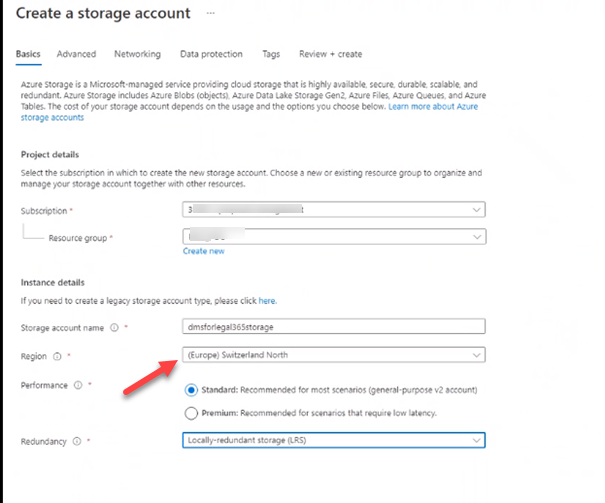
Choose your Region of preference
Define TAGS for billing purposes
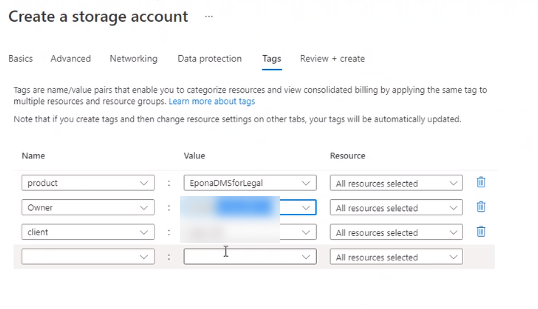
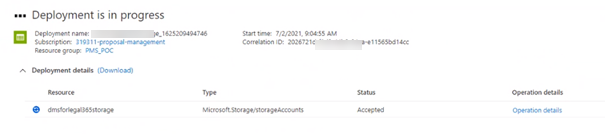
Review & Create the storage account
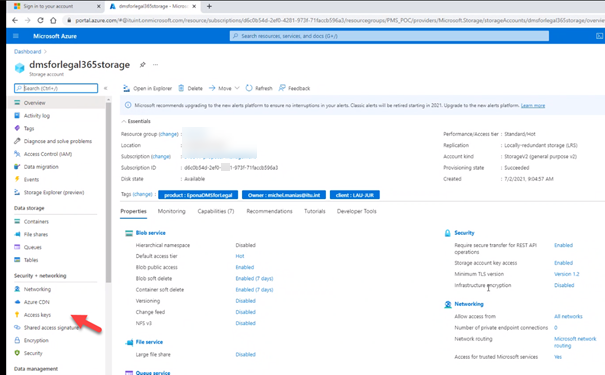
Copy the Connection String
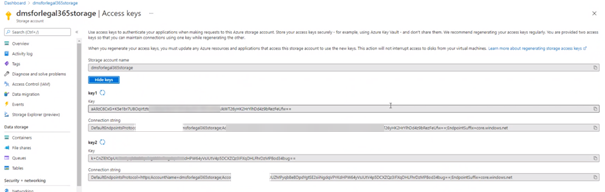
Save the connection string in a safe/ vault for later use
# DMSforLegal 365 Portal actions
- Visit the https://dmsforlegal365.epona.com/#/setup (opens new window) portal as Global Admin to deploy the EmailFiling and DMSforLegal365 APPs to your tenant
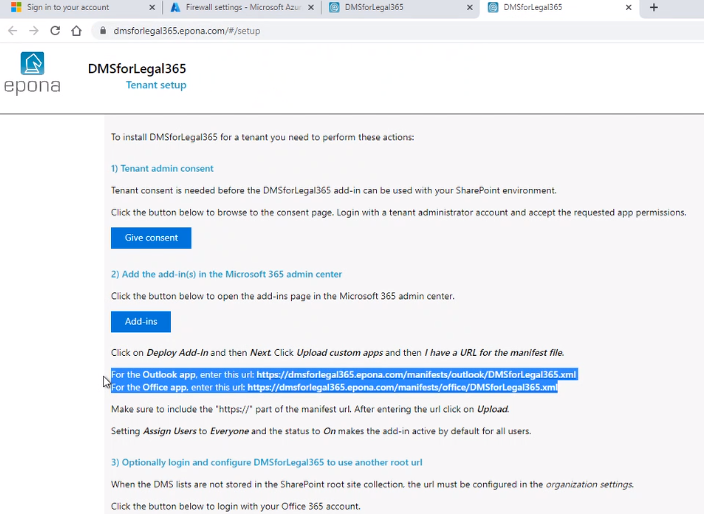
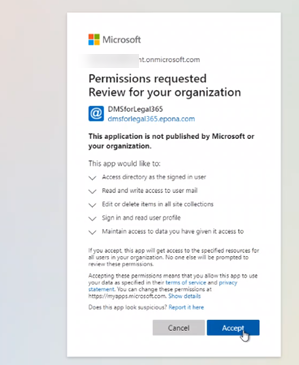
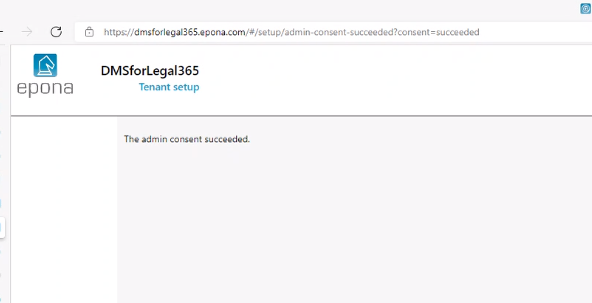
- Choose Give consent to consent to the deployment of these APPs
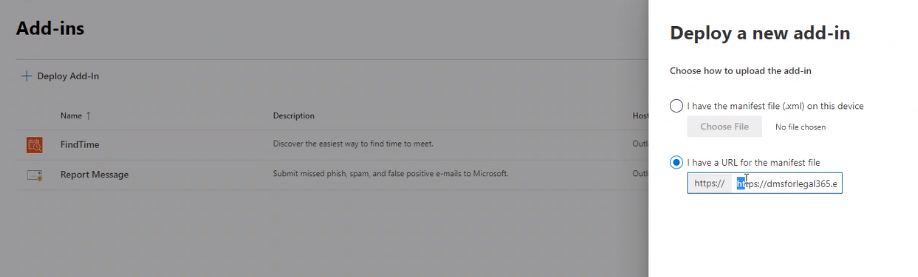
- Deploy the two APPs, copy the URL to the Custom XML in clipboard
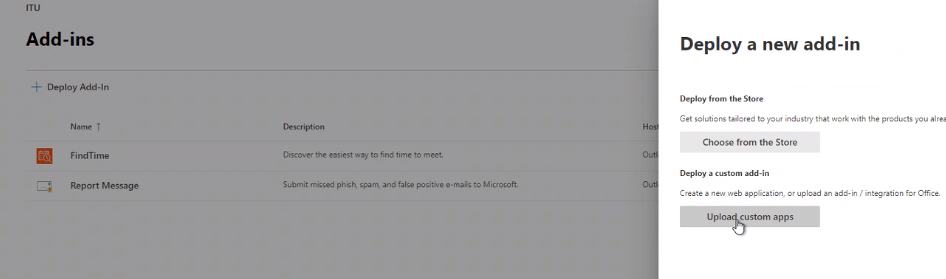
- Enter the URL including HTTPS:// (yes, confusing dialog)
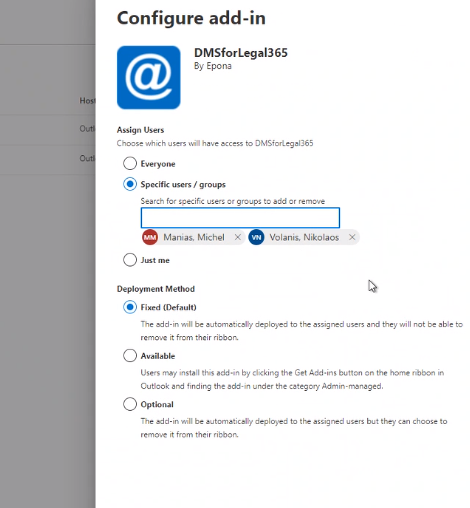
- Define the users or group to deploy it to
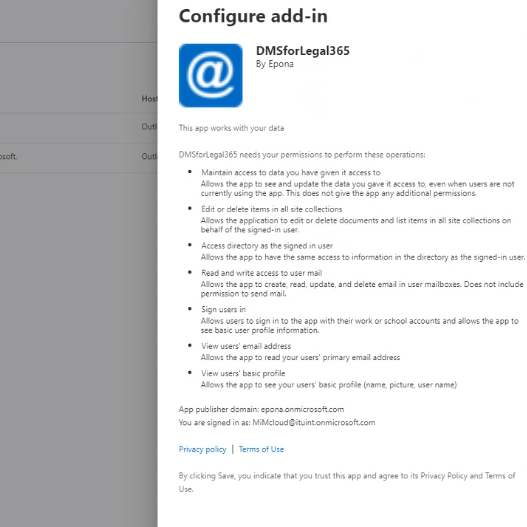
- Confirm the deployment
- Now add the other, i.c. Office APP
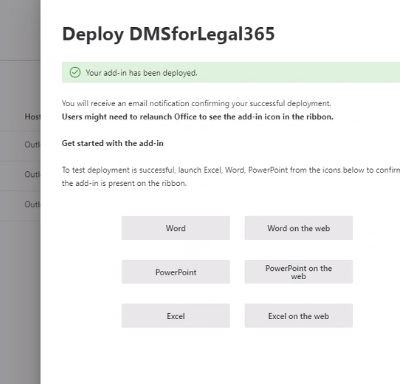
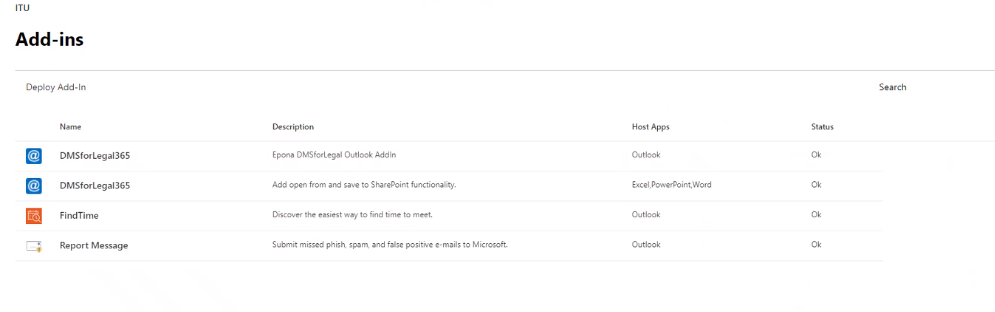
- The two apps have been deployed
# DMSforLegal365 Setting and configuring Machine Learning
Initially the DMSforLegal365 settings will point to the root site
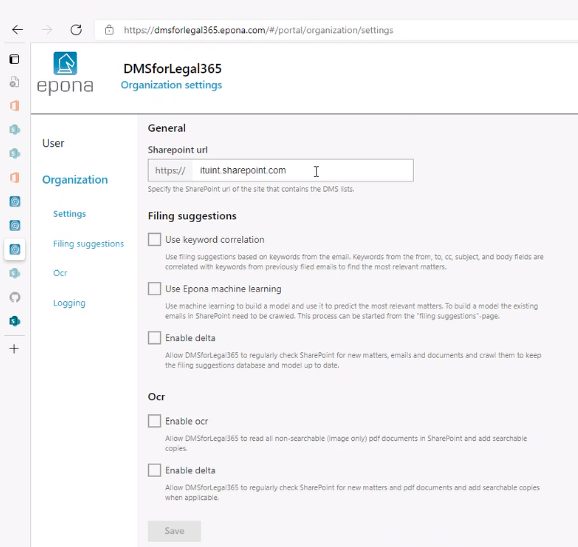
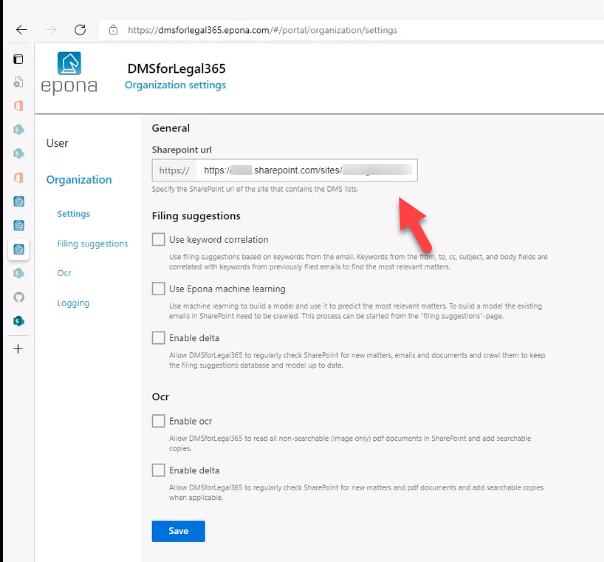
Change the Sharepoint URL to reflect the location that hosts the Matters, Clients and other DMSforLegal lists
Switch on keyword correlation, there is a Managed choice (hosted in Azure by Epona) and a Custom choice. Custom is selected, which means that the APP requires connection information to the Azure SQL database in your own Azure tenant
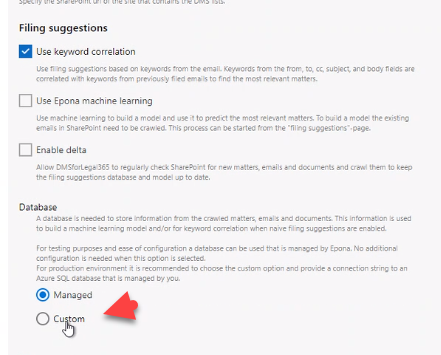
Enter the SQL connection string with the appropriate server name, login, password information
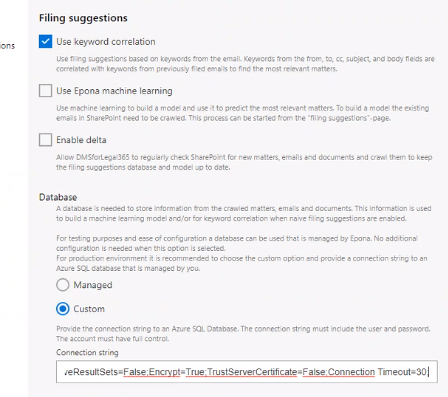
Choose Initialize database
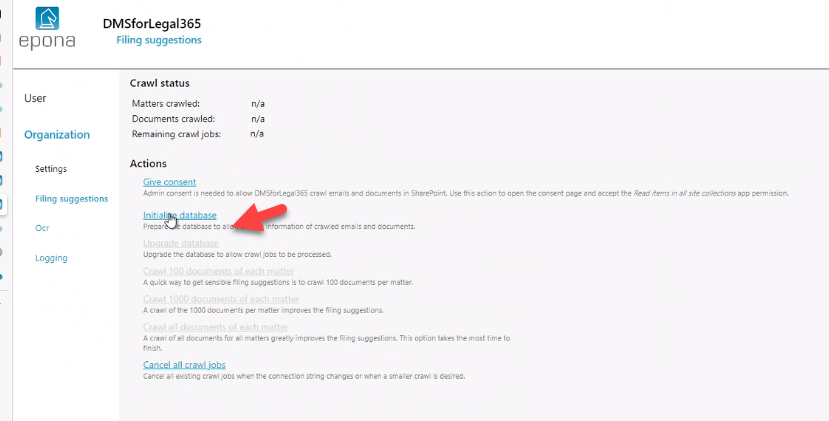
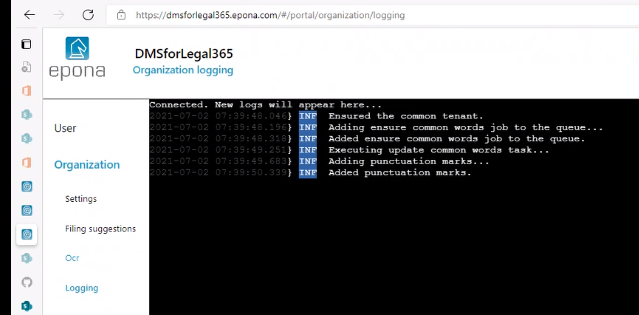
Click Log to see if the connection information was correct and the database intialization has started with the populartion of standard data
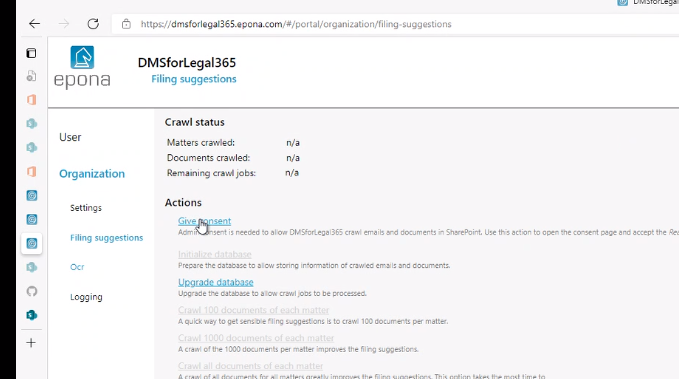
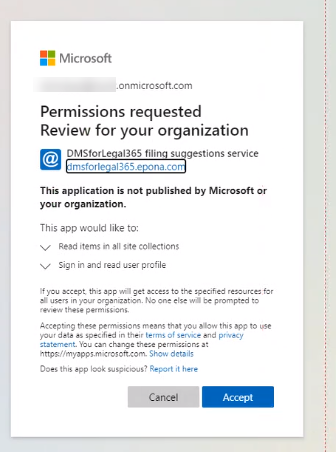
A Give consent stage is required to allow the APP services to crawl existing items and add them to the prediction database
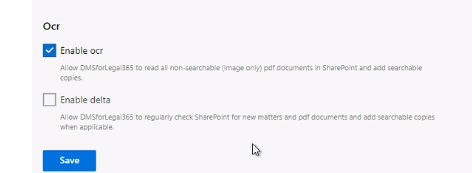
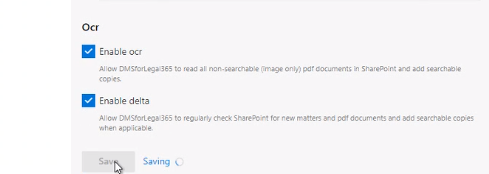
Next stage is to activate the OCR crawler process
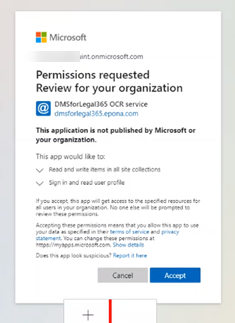
The OCR service also requires consent. These permissions are different from the above consent, because the OCR process is also able to write data
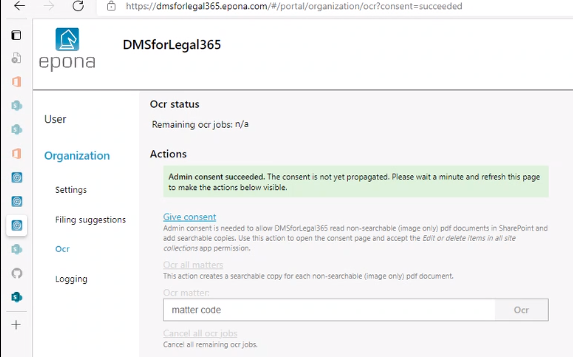
Enable Delta allows the OCR process to find new Matters and new document items
The last stage is to activate Machine Learning. This is more extensive than Predictive EmailFiling. Machine Learnings builds a database of keywords and requires Azure SQL database and Azure storage access
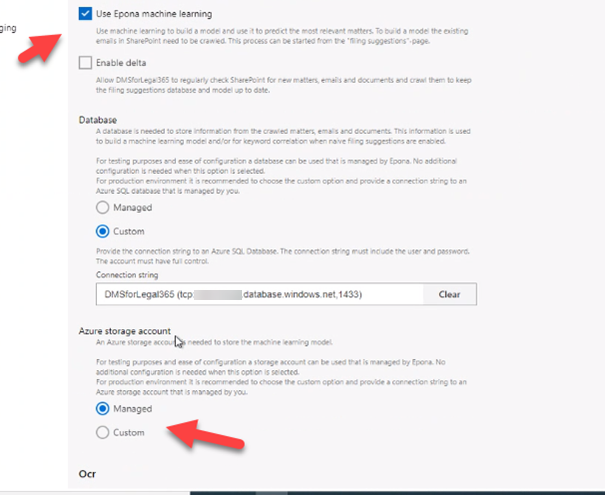
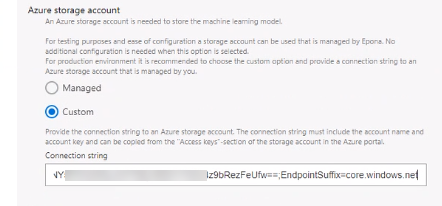
In this case Custom storage is selected. The data is stored in your own tenant Enter the connection string to the Azure storage resource
Enable Delta machine learning cycles
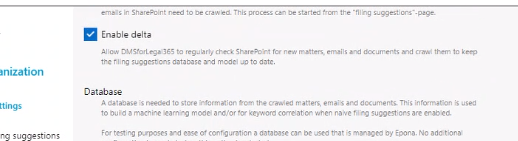
This is the delta crawling process. It does not trigger complete recalculation of the training data, this is a manual step.